Why Your Chain Skips and When to Worry
Chain skipping has gotten complicated with all the conflicting advice flying around. Replace the cassette. No, replace the chain. No, it’s the hanger. Meanwhile you’re standing in a bike shop about to spend $200 on parts you might not need.
As someone who spent three summers wrenching at a local shop before going freelance, I learned everything there is to know about drivetrain diagnostics. Today, I will share it all with you.
The skip itself shows up two ways. Hard-pedaling skip hits when you’re grinding up a climb or sprinting — the chain loses grip and your legs suddenly spin through nothing. Then there’s single-gear skip, where the chain only slips in one or two specific cogs. That pattern matters. A lot. It tells you exactly where to look first and probably saves you $80 in parts you didn’t need to buy.
Three components cause 95% of skip problems: worn chain, damaged cassette, bent derailleur hanger. Cable tension covers most of the rest. Spend 20 minutes diagnosing before you spend $150 on parts. That’s the whole game.
Check Chain Wear Before Anything Else
But what is chain wear, exactly? In essence, it’s the slow stretching of link plates over thousands of miles until the chain no longer seats properly on sprocket teeth. But it’s much more than that — a worn chain actively destroys the cassette beneath it, turning a $12 fix into a $90 replacement if you wait too long.
Buy a chain checker tool. The Park Tool CC-3.2 runs about $12 at most shops and lasts indefinitely. Drop it onto the chain — if the small notch sinks in, the chain is worn. For 11-speed and 12-speed drivetrains, replace at 0.5% wear. Older 8, 9, and 10-speed setups get a little more grace — 0.75% before they’re done.
No tool on hand? Grab a ruler. Measure from the center of one chain pin to the center of a pin exactly 12 links forward. New chain: 12.000 inches. Worn chain: 12.125 inches or more. Not as precise as the CC-3.2, but it works when you’re standing in a garage at 9pm.
Replace the chain immediately once it’s worn. Then ride for a week. If the skipping stops entirely, you’re done — move on with your season. That’s what makes catching chain wear early so endearing to us mechanics. One $12 tool. Problem solved.
Still skipping after a fresh chain? Stop. Don’t touch the cassette yet. The worn chain left damage underneath. Move to the next step.
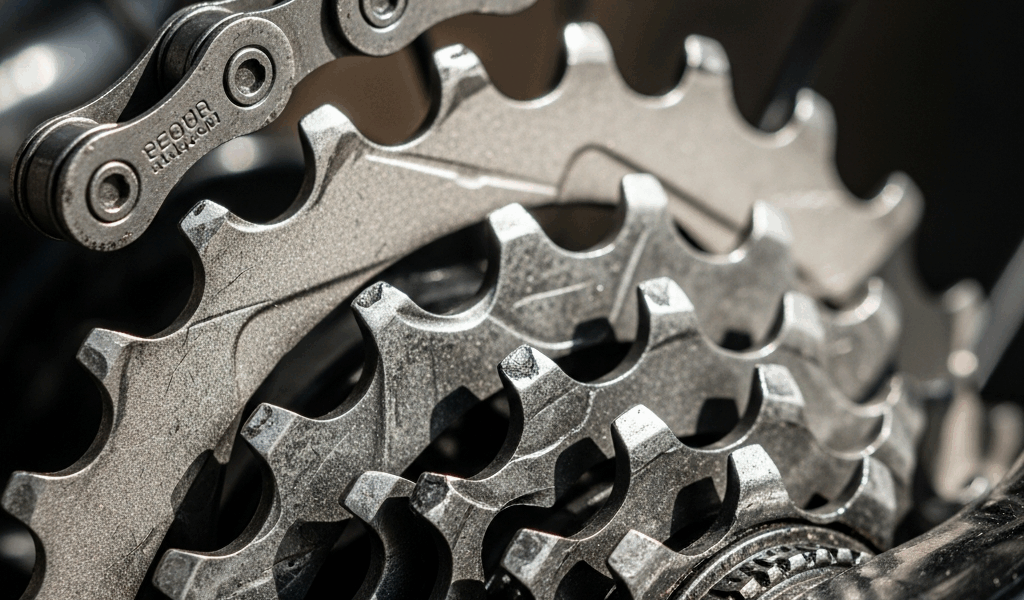
Inspect the Cassette and Specific Sprockets
Probably should have opened with this section, honestly. I’ve watched too many riders swap out entire $80 cassettes because they felt one skipping sprocket and assumed everything was toast.
A worn sprocket develops what mechanics call a shark-fin tooth. The leading edge tilts forward — you can feel it before you can see it. Run your finger along the teeth slowly, one cog at a time. Compare them. Fresh teeth feel symmetric. Worn ones feel like they’re leaning into your thumb.
Shift through each cog slowly under light pedaling pressure. Feel for where the skip happens. Only in 4th gear? Only on the 8-tooth cog? Write it down — that single data point tells you exactly which sprocket is failing, and you may not need to replace anything else.
Most modern cassettes use removable individual sprockets now. Shimano Dura-Ace and SRAM Force both let you pull a single cog. A replacement sprocket runs $15 to $25. Compare that to nuking the whole cassette. Don’t make my mistake — I replaced a full Ultegra cassette in my second year wrenching before I realized only the 21-tooth cog was shot. Expensive lesson.
11-speed and 12-speed setups wear faster than older drivetrains. Less material between teeth, tighter spacing, same pedaling force going through them. The crisp shifting comes with a durability trade-off — that’s just physics.
Multiple sprockets showing shark-fin teeth? The cassette is done, replace it. One bad sprocket and a chain that passed the wear test? Pull that single cog, install a replacement, and keep riding.
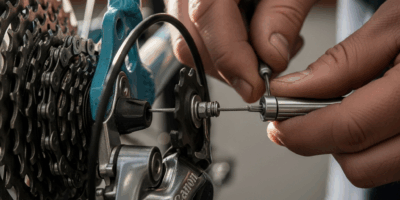
Check Derailleur Hanger Alignment and Cable Tension
The derailleur hanger is a small aluminum tab — usually $8 to $20 — bolted to your dropout specifically so it bends before your frame does in a crash. Smart design. The problem is that even a 2mm bend throws alignment off enough to cause skipping under load, and most riders never notice it happened.
Stand directly behind the bike and eyeball the hanger. It should form a clean vertical line down from the seat tube. Any inward or outward angle and it’s bent. A proper hanger alignment tool runs $30 to $60 and measures precisely, but frankly, if you can see the angle with your eye, you already have your answer. Replace it or have a shop straighten it — some aluminum hangers can be bent back, some can’t.
Cable tension is less often the culprit, but check it anyway. Shift to the smallest sprocket. The derailleur cage should sit directly below it, roughly 2mm clearance. Now shift slowly up to the largest sprocket. Does the derailleur lag? Cable is loose. Does it push aggressively past the cog? Cable is tight.
Adjust with the barrel adjuster on the derailleur body. Counterclockwise loosens, clockwise tightens. One quarter-turn. Test. Repeat. I’m apparently a compulsive quarter-turner and that method works for me while going half-turns at a time never gives me the precision I want.
Fix the hanger first. Always. An overly tight cable masking a bent hanger just burns out your shifter cable faster and still doesn’t fix the skip.
When the Fix Doesn’t Work — What to Do Next
Fresh chain. Clean sprocket teeth. Straight hanger. Crisp cable tension. Still skipping under hard power. So, without further ado, let’s dive into the parts most people skip past.
Check the jockey wheels first. Shift to the smallest cog and spin the rear wheel slowly by hand. Watch the upper jockey wheel — the one sitting closest to the cassette. Does it spin freely? Or does it drag, stutter, wobble? A gunked-up jockey wheel or failing bearing causes inconsistent chain tracking through the whole cassette. Hit it with degreaser first. If it still drags after cleaning, a replacement jockey wheel assembly runs $10 to $30 depending on the brand.
Chainring wear is rare but real — especially on older cranksets or single-speed conversions. Look at the big ring teeth. Same shark-fin shape you found on the cassette? The chainring is done.
Chain length matters too, especially after a repair. A chain that’s even half an inch too short restricts your shifting range and slips under load. The quick check: route the chain around the largest cog and largest chainring simultaneously, derailleur body roughly centered. You want about one inch of slack. More than that and it’s too long. Less and you’re asking for a skip — or worse, a snapped derailleur.
Frustratingly, some rear derailleurs just go bad. Parallelogram springs wear out. Derailleur bodies develop tiny cracks that throw off geometry. If you’ve checked every item on this list and the skip persists, the derailleur itself needs reindexing or replacement. Take it to a shop at this point — you’ve done the diagnostic work correctly, and a mechanic can handle the final call in about 15 minutes.


Stay in the loop
Get the latest cyclingfan.org updates delivered to your inbox.