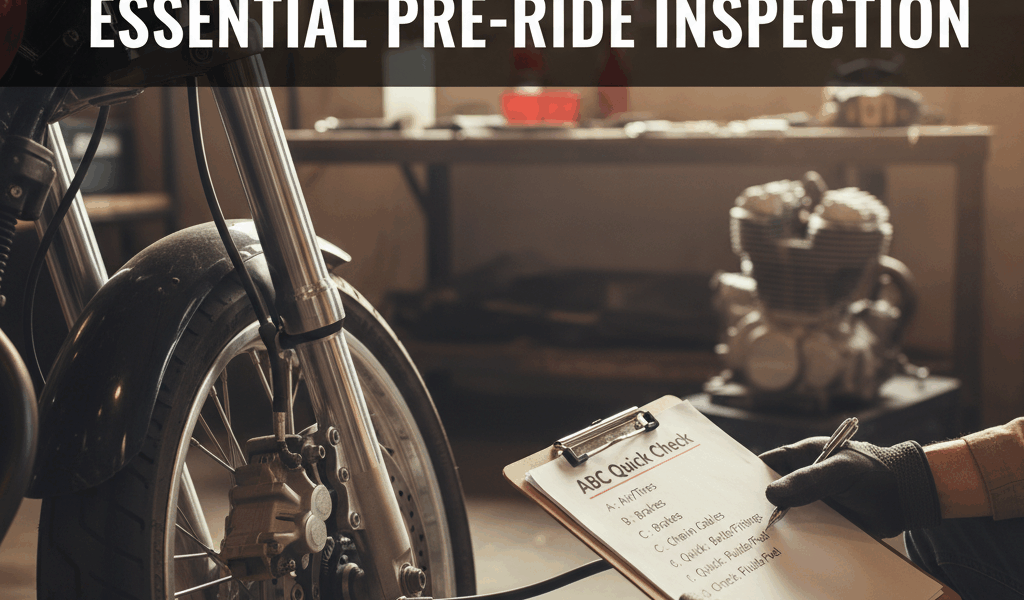
The ABC Quick Check: Essential Pre-Ride Inspection
I picked this up from a bike mechanic years ago and it’s saved me from at least three roadside disasters. The ABC Quick Check takes maybe two or three minutes before you roll out, and it catches stuff that would otherwise leave you stranded or, worse, cause a crash five miles from the nearest cell signal. Professionals do it before every single ride, and honestly, the rest of us should too.

A Is for Air
Squeeze both tires. They should feel firm — not rock-hard, but definitely no noticeable squish under your thumb. Better yet, grab your floor pump with the gauge and actually check the numbers. I run different pressures depending on conditions (lower for rough roads, higher for smooth pavement), so this isn’t just a “pump it up and go” situation.
While you’ve got the tires in your hands, take a close look at the tread and sidewalls. Glass shards, little thorns, bits of wire — they embed themselves in rubber and sit there waiting to work their way through on your next ride. Catching them in the garage takes ten seconds. Fixing the resulting flat five miles from home takes considerably longer. Also look for any cuts or bulges in the sidewall, which mean the tire’s structural integrity is compromised and it needs replacing before you ride on it.
B Is for Brakes
Give each brake lever a firm squeeze. It should engage with a solid feel well before the lever reaches the handlebar. If you’re pulling the lever all the way to the bar before anything happens, something needs adjusting — and you don’t want to discover that while descending into a sharp corner.
Spin each wheel and hit the brake to make sure it actually stops the wheel completely. Then eyeball your pads. Rim brake pads have wear indicators — little lines or grooves that disappear as the pad wears down. Disc brake pads are trickier to see, but they should still have visible pad material. Running pads down to the metal backing destroys rotors or rims, turning a cheap pad replacement into an expensive repair.
C Is for Chain and Cranks
Spin the pedals backward slowly and watch the chain roll through the derailleur. It should be smooth and quiet. Grinding sounds, clicking, or the chain catching on anything means something’s off — could be a stiff link, a bent derailleur, or just a chain that’s overdue for lube.
Now grab a crank arm and try to rock it side to side. There should be zero play. A loose crank bolt is genuinely dangerous — cranks can and do fall off mid-ride, and that’s about as fun as it sounds. If there’s any wiggle at all, tighten it to spec before you go anywhere.
The Quick Part
Lift the front wheel and give it a spin. Watch for any wobble, which means a bent rim or loose axle. Do the same with the rear. Then double-check that your quick releases or thru-axles are properly tightened. I’ve seen wheels come loose mid-ride because someone forgot this step after transporting their bike.
Two minutes. That’s all it takes. Make it as automatic as clipping on your helmet and eventually you won’t even think about it — your hands just do the check while your brain is still planning the route. Your future self, the one who’s not walking home in cycling shoes, will appreciate the habit.


Stay in the loop
Get the latest cyclingfan.org updates delivered to your inbox.