
The Sealant Stuff Nobody Tells You About
Tubeless sealant has gotten overly complicated with all the marketing noise flying around. As someone who has gone through probably a dozen different bottles trying to find what works, I learned way more about latex chemistry than I ever wanted to. Today I will share it all with you so you can skip my expensive trial-and-error phase.
How This Stuff Actually Works
Here is the basic idea: liquid latex mixed with some particles sits inside your tire. When something pokes through, air pressure shoves the goo toward the hole, and the latex solidifies almost instantly. Sounds simple, but getting it to work consistently took the industry years to figure out.
I used to think all sealants were basically the same. They are not. Some use natural latex, others synthetic. Some add tiny fibers or rubber particles for plugging bigger holes. The antifreeze additives matter if you ride in winter. Probably should have led with this section, honestly.
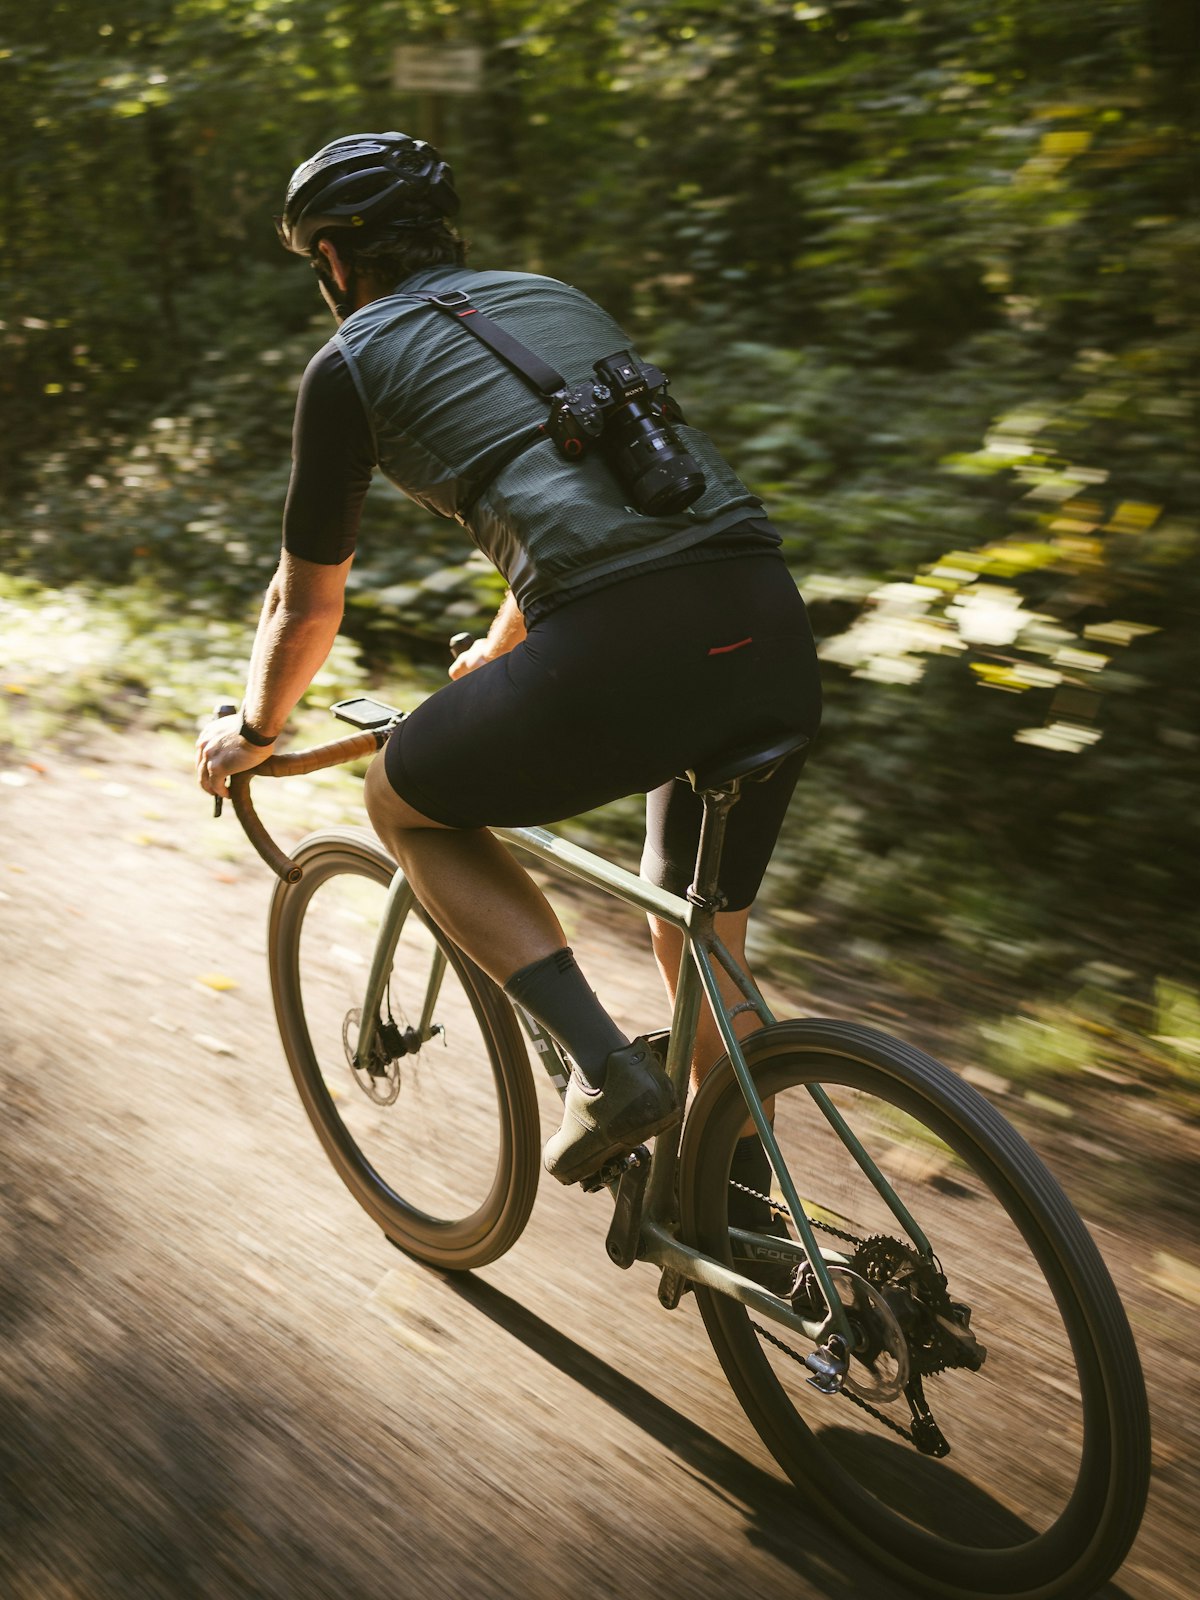
Why Bother Going Tubeless At All
That is what makes tubeless setup endearing to us weight-obsessed cyclists – you ditch the inner tube entirely. Here is what you actually gain:
Lower weight, obviously. But the bigger deal is running lower tire pressure without risking pinch flats. I went from 80 PSI on tubes down to 65 PSI tubeless, and the comfort difference on rough roads is massive. More grip too, which matters more than I expected on wet descents.
The other thing nobody mentions: fewer roadside tire changes. Small punctures seal themselves before you even notice. I have ridden home with thorns still embedded in my tire, sealant having done its job silently.
Different Sealants for Different Situations
I am apparently one of those people who rotates between three different bottles, and Stan’s NoTubes works for me while Orange Seal never quite holds in my rear tire. Your experience might be completely opposite – tires, rim fit, and riding style all play into it.
For regular riding in reasonable temperatures, standard sealant handles most punctures fine. Race-specific formulas have more solids for sealing faster, but they also dry out quicker. Winter formulas exist for below-freezing rides, though honestly if you are riding in single-digit temperatures, sealant longevity is probably the least of your concerns.
The Application Process (It Is Messy)
Fair warning: your first time installing sealant will be a disaster. Accept this and put down newspaper.
Remove the valve core with a little tool or pliers. Shake the bottle really well – those particles settle to the bottom. Pour in the recommended amount through the valve hole or pop one bead off and pour directly. Reseat the bead, reinstall valve core, inflate to seat the tire, then spin the wheel around to spread sealant everywhere.
The cleanup is just warm water if you move fast enough. Dried latex on your hands becomes a weird rubbery film you peel off like a snake shedding skin.
Maintenance That Actually Matters
Here is what took me too long to learn: sealant dries out inside the tire whether you ride or not. In hot weather, maybe two months before it needs refreshing. In mild weather, you might get four to six months.
I check mine by pressing on the tire sidewall and listening. If it sloshes, there is still liquid in there. If not, top it off. Some people mark their calendar. I just check when I remember, which is probably every two or three months.
When you do open the tire eventually, you will find dried latex boogers all over the inside. Peel them out before adding fresh sealant – they do not hurt anything, but they add rolling weight.
When Sealant Cannot Save You
Sealant handles punctures up to maybe 6mm. Bigger than that and you need a tire plug or an actual patch. I carry both plus a spare tube just in case. Sidewall cuts are also game over for sealant – nothing to seal against.
One time I hit a broken bottle hidden in leaves and sliced a 2-inch gash. All the sealant in the world was not saving that tire. Had to boot it with a dollar bill and limp home on a tube. Lesson learned: carry backup options.
Brands Worth Trying
Stan’s NoTubes started this whole category and remains solid. Orange Seal works great for some people, lasts longer between refills. Muc-Off has microfibers for faster sealing. Slime makes an affordable option that works fine for casual riding.
Honestly, pick one and see how it performs with your specific setup. If punctures keep leaking or sealant dries out too fast, try something else. There is no universally best option.
The DIY Rabbit Hole
Some cyclists make their own sealant from liquid latex, water, and glitter or tiny fibers. It can work. It can also be a disaster that leaves you stranded. Unless you really enjoy chemistry experiments, commercial sealant at $8 per bottle seems worth the convenience.
Is It Worth The Hassle
If you ride more than once a week, probably yes. The weight savings, puncture resistance, and ability to run lower pressure add up to a noticeably better ride. First-time setup is annoying, but after that it becomes routine maintenance like lubing your chain.
If you only ride occasionally or stick to pristine bike paths, tubes work fine and skip the mess entirely. No judgment – I still run tubes on my backup bike because simplicity has value too.
Recommended Cycling Gear
Garmin Edge 1040 GPS Bike Computer – $549.00
Premium GPS with advanced navigation.
Park Tool Bicycle Repair Stand – $259.95
Professional-grade home mechanic stand.
As an Amazon Associate, we earn from qualifying purchases.


Stay in the loop
Get the latest cyclingfan.org updates delivered to your inbox.