Why Your Front Derailleur Is Rubbing
Front derailleur problems have gotten complicated with all the conflicting advice flying around. Limit screws. Cable tension. Cage height. Everyone’s got a theory, and most of them send you in circles. As someone who has spent genuinely embarrassing amounts of time chasing phantom rubbing noises on multiple bikes, I learned everything there is to know about this particular nightmare. Today, I will share it all with you.
Here’s what actually matters before you touch anything: rubbing has three separate root causes. Cage alignment. Limit screws. Cable tension. If you don’t know which one you’re dealing with, you’ll spend your evening fixing the wrong thing — at least if you’re unlucky enough to start with the limit screws when your cage is just sitting crooked.
Think of it as a hierarchy. Cage position first. It’s the foundation everything else depends on. Limit screws second. Cable tension third. One detail that separates this from every other guide: pay attention to where the rubbing happens. Every gear? Only on the big ring? Only when you’re in the largest rear cog? That clue tells you exactly which adjustment will fix it. So, without further ado, let’s dive in.
Check the Cage Height and Angle First
The cage should sit 1–2 millimeters above the biggest chainring — measured with your chain on that ring and in the smallest rear cog. Not flush. Not 5mm away. One to two millimeters. A feeler gauge works if you want to be precise. Eyeballing it also works. You’ll genuinely know it when you see it.
Now look at the cage from the side. Parallel to the chainrings. Not tilted forward, not tilted back. The inner and outer cage plates should run in straight lines that match the ring orientation exactly.
Misalignment looks like this: the cage is twisted, one side sits higher than the other, or the whole unit is canted like something knocked it sideways. This happens constantly on freshly reassembled bikes, bikes with new derailleurs slapped on without proper setup, or anything that took a hit to the drivetrain.
Probably should have opened with this section, honestly. I’ve watched people fiddle with limit screws for twenty minutes when the cage was just sitting crooked the whole time. Don’t make my mistake.
To fix it, loosen the clamp bolt — just enough to rotate the derailleur by hand, not all the way out. Rotate until the cage runs parallel to the rings. A straightedge helps. Tighten the bolt back down; a quarter-turn past snug usually lands it. Shift to the big chainring and small rear cog, verify that 1–2mm gap, nudge the clamp slightly if needed. This single step resolves the rubbing in probably 30 percent of cases.
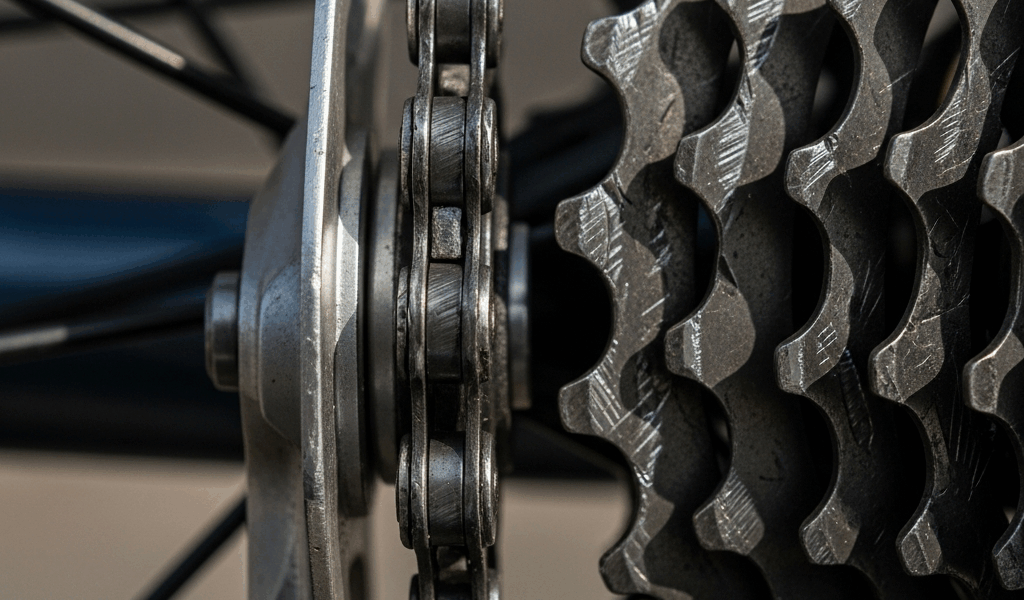
Set the Limit Screws for Inner and Outer Stops
But what are limit screws? In essence, they’re physical stops that control how far the cage swings in either direction. But they’re much more than that — they’re also your first line of defense against dropped chains, and they’re what most people blame incorrectly when cable tension is actually the problem.
The L screw limits inward swing toward the frame. The H screw limits outward swing toward the big ring. Both are usually stamped directly on the derailleur body — Shimano derailleurs like the FD-R7000 label them clearly enough to read without squinting.
Shift to the small chainring, small rear cog. Look at the inner cage plate. There should be roughly 1mm of clearance between the plate and the chain. Chain rubbing the inner cage? Turn the L screw clockwise a quarter turn. Shift. Check again. Keep going until the chain clears with just that sliver of gap. Too much clearance and your shifts feel sluggish — it matters.
Now shift to the big chainring, largest rear cog. Same rule: 1mm clearance at the outer cage plate. Chain rubbing the outer plate, turn the H screw clockwise a quarter turn at a time until it clears. This process is completely repeatable. Small moves, test, repeat. You cannot wreck it if you go slowly.
Dial In Cable Tension to Fix Mid-Range Rubbing
Here’s where most riders get genuinely lost. If your rubbing only appears in certain rear cogs — especially the larger ones — you do not have a limit screw problem. That’s a cable tension problem. The cage isn’t traveling far enough outboard, or it’s traveling too far, for that specific rear gear position.
Shift the rear derailleur into a large cog while staying on the big chainring. Inner cage plate rubbing the chain? Cable tension is too loose. Find the barrel adjuster — on most road bikes it’s built into the shifter body, on some setups it’s a separate inline adjuster clamped to the frame. Turn it counterclockwise one quarter turn. That adds tension and pulls the cage outboard. Test. Repeat until the rub disappears.
Opposite problem, turn clockwise. Simple.
Now comes the part nobody talks about. Most front shifters have a trim function — a half-click position between the small and big ring settings. Shift to the big ring, then tap the lever halfway. Not a full shift. Just a tap. The cage moves slightly inboard. That’s it. That’s the whole feature. It exists specifically to eliminate rub in cross-chain positions, and a huge number of riders think their derailleur is broken when they’ve just never discovered the trim click.
I’m apparently the kind of person who rode for two years without using trim, and once I found it, half my “derailleur problems” evaporated instantly. Try it now. Big ring, third-largest rear cog — a classic cross-chain spot where rub shows up. Tap the lever halfway. The cage should nudge just enough to clear the chain. If your shifter doesn’t have trim, cable tension needs to be absolutely dialed, which is harder to hold consistently.
When the Rubbing Will Not Go Away
Edge cases exist. A bent cage from a crash — say, a derailleur that took a rock strike at speed — will not respond to any of this. That’s a new derailleur situation. Worn chainrings cause uneven chain line problems that no cage positioning fully solves. Bottom bracket bearing play creates lateral chain movement that makes rub nearly impossible to chase down through adjustment alone.
These are relatively rare. But they do happen.
If you’ve worked through cage alignment, limit screws, and cable tension methodically and the rubbing persists, inspect the cage for visible bending. Spin the cranks and watch the chain track — does it run straight, or does it weave? Check the ring teeth for shark-tooth wear on the outer edges. Those are replacement-level problems, not adjustment problems. No barrel adjuster on earth fixes a chainring that looks like a saw blade.
Most cases never get that far. Most cases are solved somewhere in steps one through three.


Stay in the loop
Get the latest cyclingfan.org updates delivered to your inbox.