Why Carbon Rims Squeal More Than Alloy
Carbon rim braking has gotten complicated with all the conflicting advice flying around. I spent three seasons on alloy before dropping $1,400 on a set of carbon wheels — more than I paid for my first road bike. Within the first week, they started screaming on every descent. Loud enough that pedestrians actually stopped to look. I thought I’d destroyed them immediately.
But what’s actually happening? In essence, it’s a surface compatibility problem. But it’s much more than that.
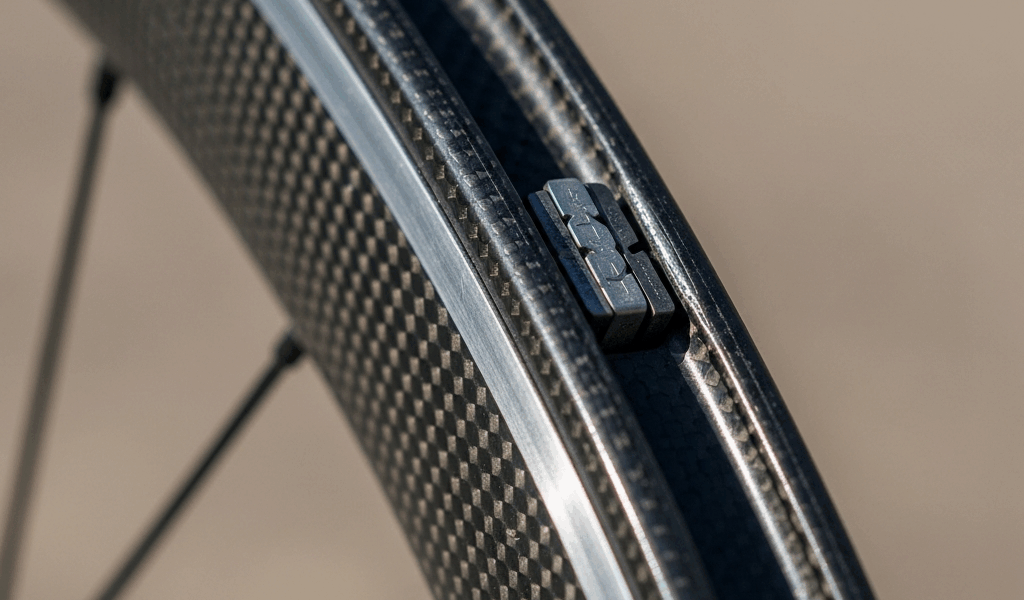
Carbon rims have a resin matrix with microscopic peaks and valleys that interact unpredictably with brake pad compounds. Wrong pad compound hits that surface, glazes from heat — develops a hard, shiny coating — then skitters instead of grips. That skittering is your squeal. Alloy is more forgiving. Its oxidized surface is uniform and porous, so it plays nicely with a wider range of pad materials. Carbon doesn’t have that flexibility. The resin absorbs brake fluid residue and road grime in ways aluminum simply never does, which stacks up additional squeal triggers over time.
That’s what makes carbon rim maintenance its own category — not just a louder version of fixing alloy noise.
Step 1 — Check Your Pad Compound First
Probably should have opened with this section, honestly.
The most common reason carbon rims squeal is embarrassingly simple: wrong pads. Riders swap in whatever fits. Alloy-specific compounds are harder, designed to bite oxidized aluminum. On carbon, that hardness causes glazing. Then noise. Lots of it.
Check the pad box or manufacturer specs — look for explicit carbon rating. If your pads came from the original build or off a random shop shelf, assume nothing.
The safest compounds for carbon rims are:
- Cork-based pads (genuinely cork, not cork-pattern sintered metal)
- SwissStop Black Prince or similar carbon-dedicated compounds
- Kool-Stop pads with the green label (carbon-specific)
- Brand-name compounds from Shimano, SRAM, or TRP labeled explicitly for carbon
I’m apparently a slow learner and SwissStop Black Prince works for me while the alloy pads I tried first never stopped squealing. Swapping compounds killed the noise immediately. Thirty dollars and maybe ten minutes of wrench time. Don’t make my mistake.
Check your rim manufacturer’s website too. Zipp, Enve, and Reynolds all publish specific pad recommendations — and some void warranty coverage if you run non-approved compounds. It’s not marketing fluff. They actually tested the combinations.
Step 2 — Toe-In the Pads If the Compound Is Correct
So, without further ado, let’s dive into the mechanical side.
Once you’ve confirmed carbon-rated pads and squealing continues, the problem is almost always toe-in. It’s the angle at which the pad meets the rim. Critical on carbon. Non-negotiable, really.
Correct toe-in looks like this: the front edge of the pad — closest to the direction of rim rotation — contacts the rim slightly before the rear does. A small gap at the rear, typically 0.5 to 1.5 millimeters, stops the vibration pattern that causes squealing. Think of it as the pad pointing inward like a toe.
To adjust toe-in, you need a shim. A business card works perfectly. I’ve used a playing card, a wine cork slice, and actual aluminum shim stock from Harbor Freight — about $6 for a pack. Here’s the process:
- Release the brake cable from the caliper or loosen the quick-release if your brake has one
- Loosen the pad mounting bolt on one side — usually the rear pad — by roughly one full turn, not all the way out
- Slide a shim between the rear of that pad and the rim surface
- While the shim holds the rear pad back, tighten the mounting bolt
- Remove the shim carefully
- Reconnect the cable and test
The front pad should kiss the rim. The rear should have just enough clearance that you barely feel drag spinning the wheel by hand. Too much toe-in means uneven pad wear and power loss. Too little and the squealing returns.
Test on a hard descent. Noise gone? Great. Still there? Step three.
Step 3 — Sand Glazed Pads and Clean the Rim
Heat glazing gives brake pads a hard, polished surface from repeated friction at high temperatures. Once glazed, they vibrate against carbon instead of gripping it. That vibration is noise.
Grab 320-grit sandpaper — a sanding sponge works fine too. You could use 220-grit for faster results, but 320 is safer around carbon braking surfaces. Sand both pads in light circular motions. Thirty seconds per pad. You’re scuffing the glaze layer, not stripping the compound down. Surface should go from shiny to matte. That’s it.
While the pads are off, take 90% isopropyl alcohol — minimum — and a clean rag, then wipe the rim’s braking track thoroughly. Chain lube, sunscreen, rail dust, and dried sweat accumulate on carbon in ways that have nothing to do with the pads themselves. This step gets overlooked constantly. Let the alcohol dry completely — two minutes is fine — then wipe the pads with alcohol too, just to pull any sanding dust off.
Reinstall. Test. Most squealing stops right here. Unglazed pad surface, clean carbon track, noise gone.
When Squealing Means Something More Serious
Rare cases exist where squealing points to actual rim damage. Worth knowing.
Examine the braking track under good light. Deep grooves worn into the carbon, or visible delamination — layers separating from each other — means structural damage. Not a noise problem. Stop riding it immediately.
Check pad wear too. Worn past the wear line, or down to the metal backing plate, and squealing is genuinely the least of your concerns.
Some carbon rims are sensitive enough that running wrong compounds for extended periods actually eats into the resin itself. Zipp’s older 303 and 404 rims were notorious for this. White dust or powdery residue on the braking surface that won’t clean off — that’s compromised resin. Different situation entirely.
In any of these cases, contact your rim manufacturer directly. They can tell you whether damage is cosmetic or structural, and whether warranty coverage applies. Most won’t cover it if you ran non-approved compounds, so document everything you’ve used.
But here’s the honest reassurance: if you’re reading this because carbon rims just started squealing, there’s a 95% chance one of those three steps above fixes it. Wrong compound, bad toe-in, or glazed pads. None of those mean you broke something expensive. They mean fifteen minutes of maintenance and then quiet, smooth braking on every descent.


Stay in the loop
Get the latest cyclingfan.org updates delivered to your inbox.