Quick Guide to Winter Bike Storage
As someone who’s pulled a bike out of the garage in March only to find a rusted chain and flat-spotted tires, I learned everything there is to know about winter storage the hard way. Whether you’re hanging up the road bike for the season or just switching to the trainer for a few months, spending a little time prepping now saves a lot of grief (and money) when the weather warms up.

Clean Everything Thoroughly
First things first — give the bike a proper wash. Not a quick wipe-down, but a real cleaning. Get all the grime, old lube, and road crud off the chain, cassette, and derailleurs. If you’ve been riding in any salt or winter slush, this step is especially important because that stuff is corrosive and will quietly eat away at metal components while the bike sits idle for months.
Don’t skip the areas people usually ignore. Brake calipers, cable housing ends, the underside of the bottom bracket — anywhere moisture can hide and start causing problems. Wipe down the frame and fork too, and take a close look for paint chips. A dab of touch-up paint or even clear nail polish over exposed metal prevents rust from getting a foothold over the winter. Five minutes of inspection now saves you from discovering frame corrosion in April.
Lubricate and Protect
Once everything’s clean and dry, put a fresh coat of lube on the chain, derailleur pivots, and any other moving parts. This isn’t your normal riding lube application — you want a slightly heavier coating that’ll last through months of sitting around. Some riders switch to a wet lube specifically for storage, which makes sense since you’re optimizing for rust protection rather than dirt shedding.
Pump the tires up to their recommended pressure. I know, it feels weird inflating tires on a bike that isn’t going anywhere, but tires that sit flat for months develop flat spots that never fully round out. Check the pressure once a month if you can remember — all tires lose air gradually, even in storage.
Choose the Right Storage Location
Dry and temperature-stable — that’s what you’re after. A heated garage or a spare room works great. What you want to avoid is anywhere with big temperature swings or high humidity. An unheated shed that goes from freezing at night to warm during the day creates condensation that settles on metal parts. Also keep the bike away from direct sunlight and heating equipment, both of which degrade rubber and plastic components over time.
Wall hooks or ceiling hoists are solid options if floor space is tight. Just make sure the bike hangs securely — check that the hook can handle the weight and that you’re not hanging the bike by anything that’ll stress the frame tubes or kink hydraulic brake lines. I’ve seen a friend’s bike fall off a cheap wall hook at 2 AM. Not ideal.
Final Pre-Storage Checks
Back off the tension on your brake and derailleur cables slightly. Cables that sit under tension for months can stretch or cause the housing to take a permanent set, which means sloppy shifting and braking come spring. Verify your quick releases or thru-axles are properly tightened while you’re at it.
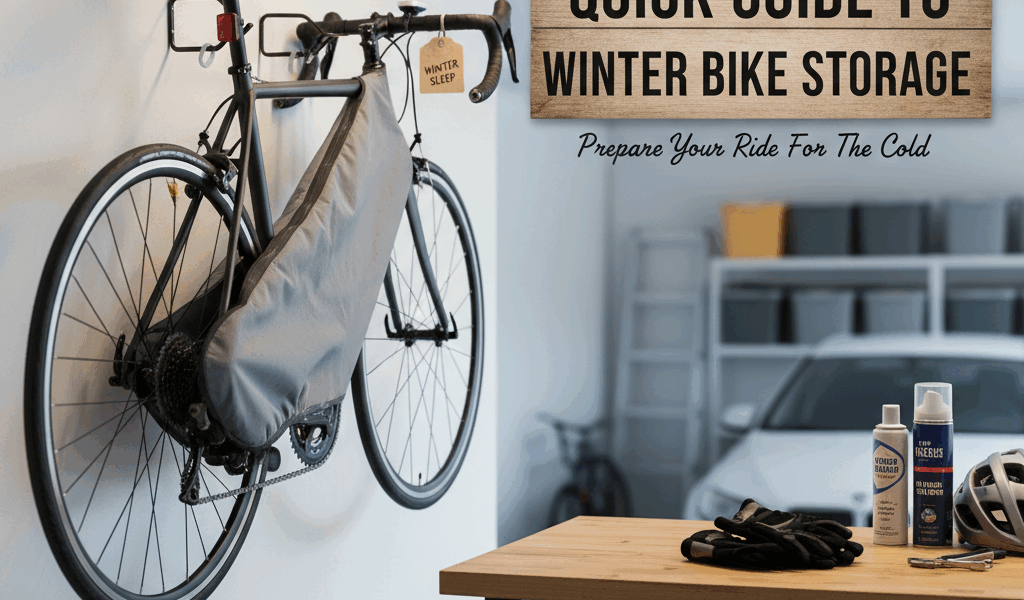
Throw a breathable cloth or old bedsheet over the bike to keep dust off. Avoid plastic covers or tarps — they trap moisture underneath and create exactly the kind of humid environment you’re trying to prevent. Cotton or a proper bike cover with ventilation is what you want.
Whole process takes maybe 30 minutes, and future-you is going to be very grateful when that first perfect spring day arrives and your bike is actually ready to ride instead of needing a trip to the shop. I’ve been on both sides of that scenario, and trust me — the 30 minutes of prep is the better deal every time.


Stay in the loop
Get the latest cyclingfan.org updates delivered to your inbox.